Alright, so I’ve been seeing these angel numbers popping up everywhere. You know, like 111, 222, 444 – the whole lot. At first, I was like, “Okay, universe, I get it, you’re chatty.” But then I thought, why not make something out of it? And that’s how I landed on making angel numbers necklaces. Seemed like a cool little project.
Getting Started: The Idea and The Hunt for Supplies
I’m not really one for super complicated crafts, so I wanted something straightforward. Necklaces seemed perfect. I pictured something delicate, something you could wear every day. So, the first step was, obviously, getting the materials. This part, let me tell you, was a bit of a treasure hunt. I needed:
- Chains: Simple ones, nothing too flashy. I grabbed a few different lengths and styles, silver and gold-ish tones.
- Number Charms: This was the tricky bit. Finding small, nice-looking number charms took some doing. I eventually found some tiny ones that I thought would work.
- Jump Rings: Those tiny little circles of wire. Essential, but also the bane of my existence for a while.
- Pliers: A couple of small jewelry pliers – a flat nose and a round nose. Couldn’t do much without these.
I just wanted basic stuff, you know? Nothing fancy. The goal was to make something personal, not something that looked like it came out of a factory.
The Making Process: Trial, Error, and Tiny Metals
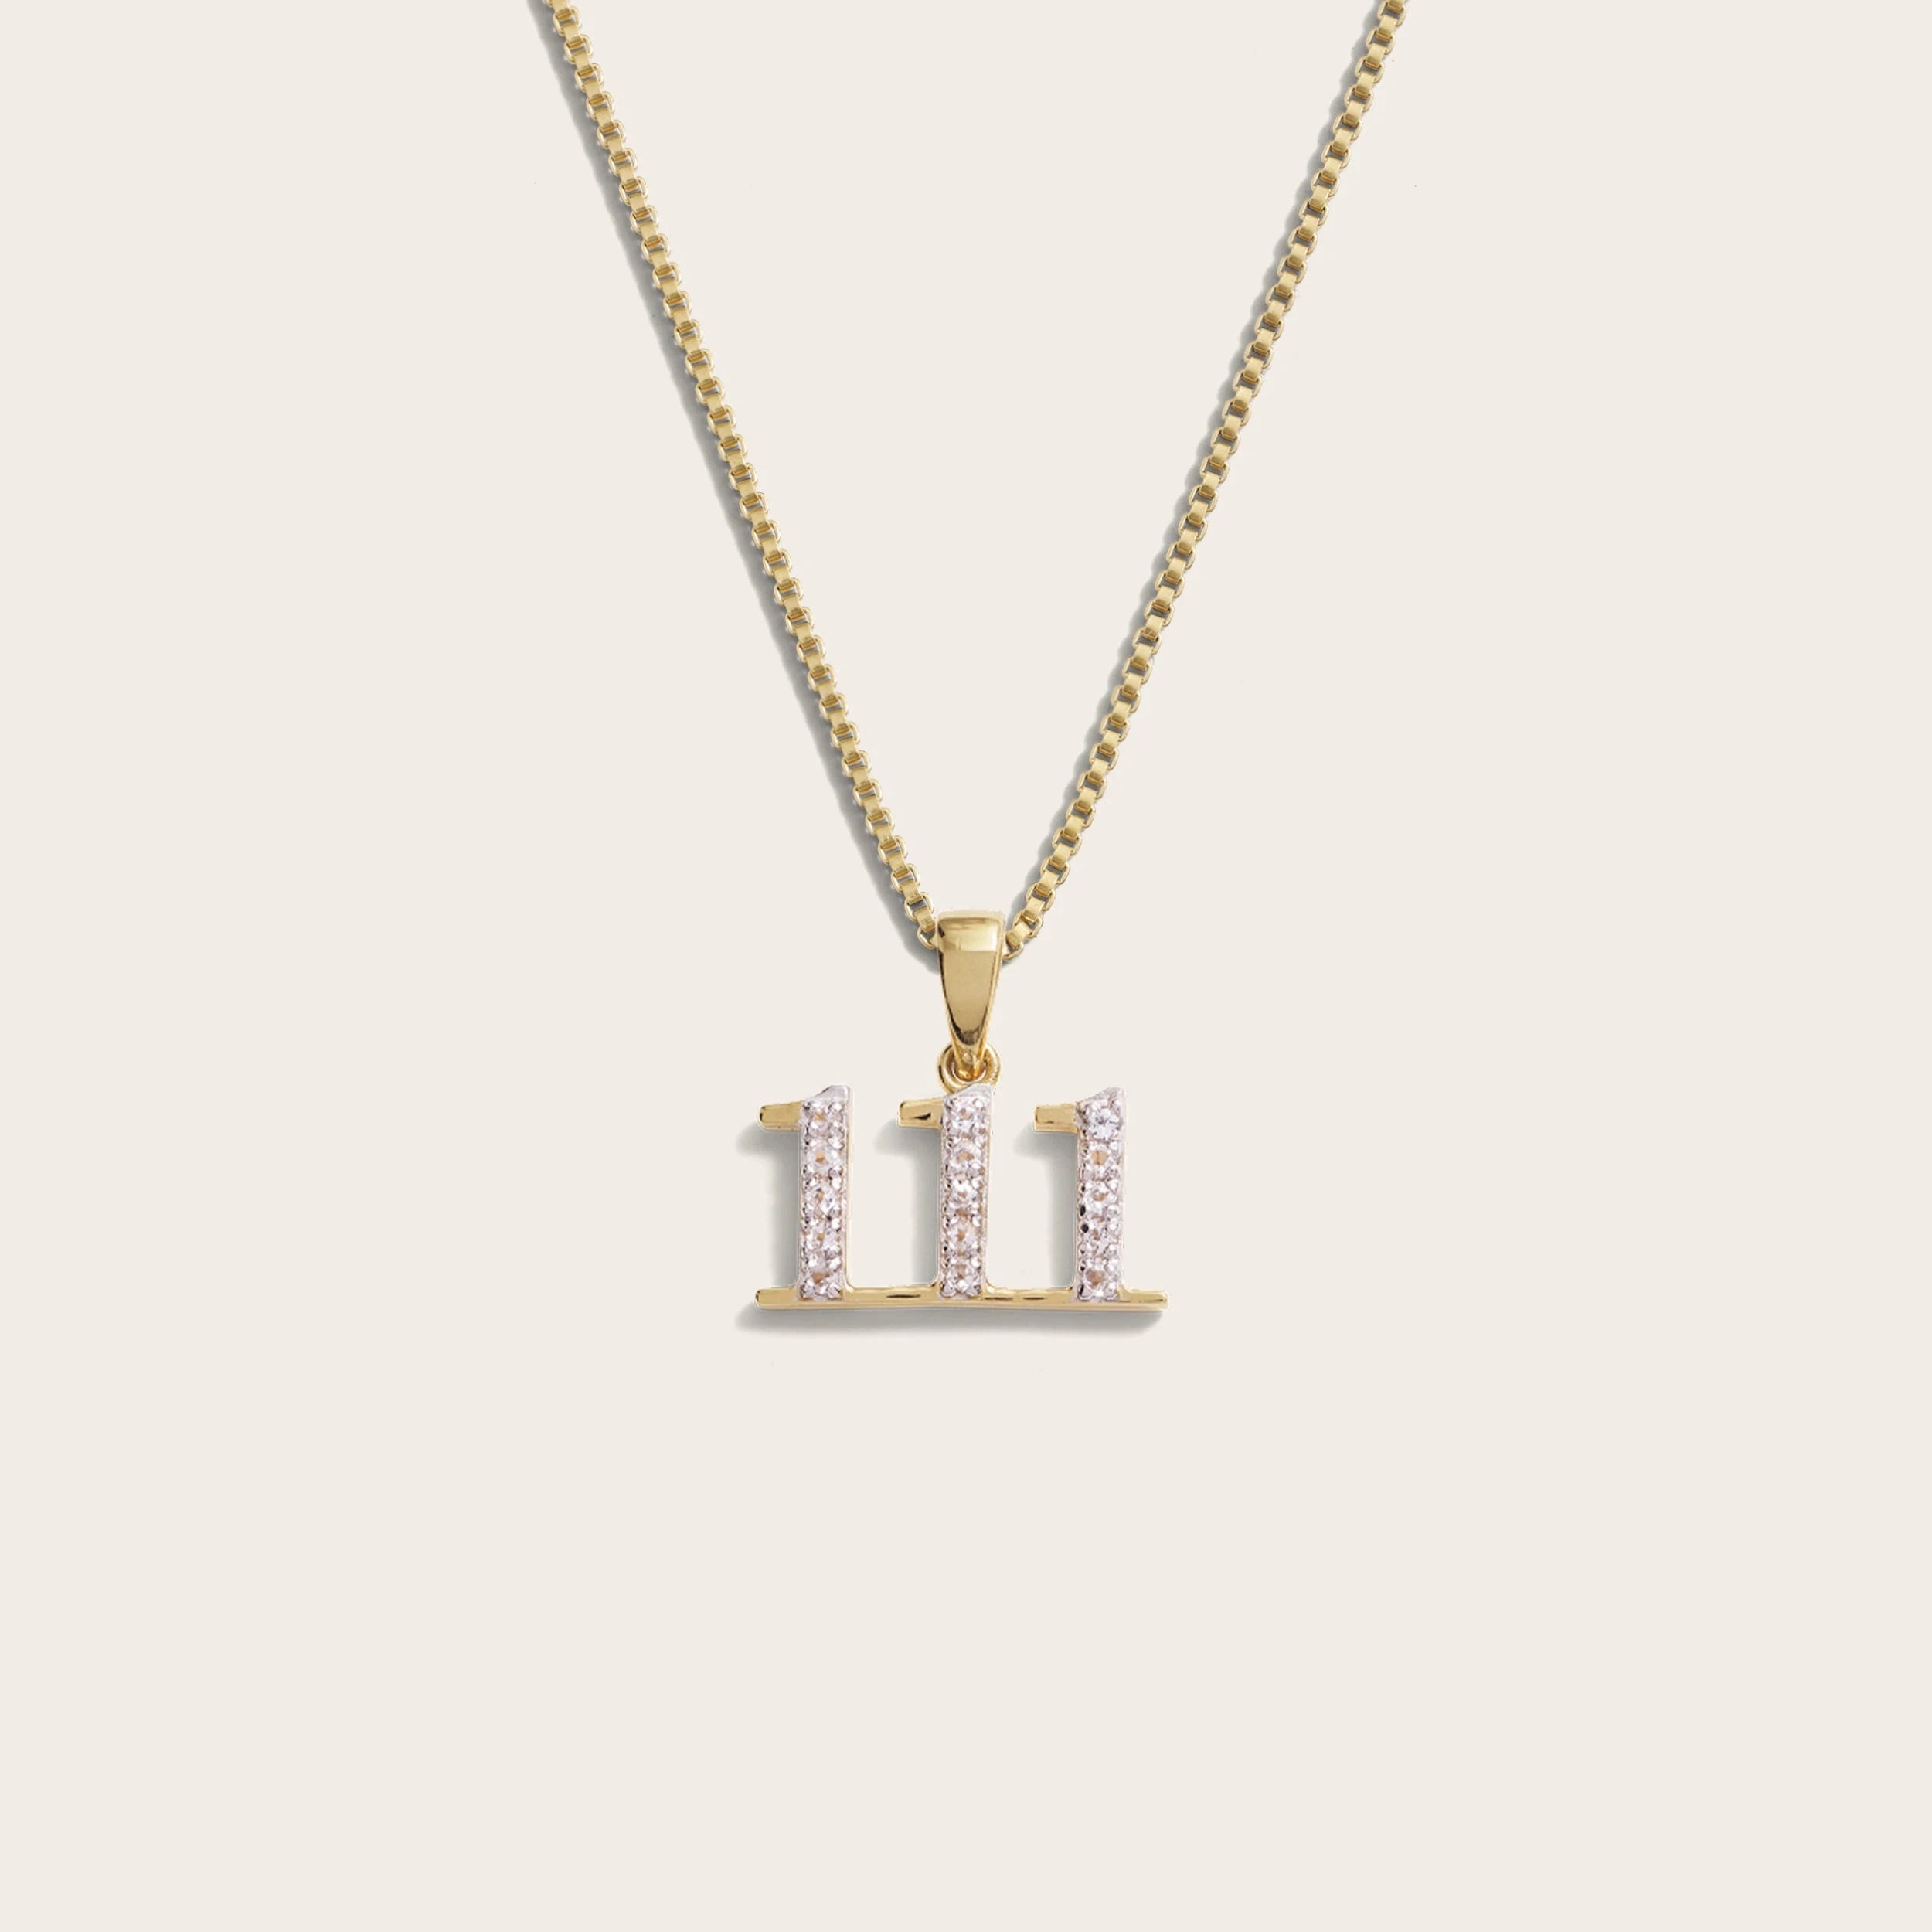
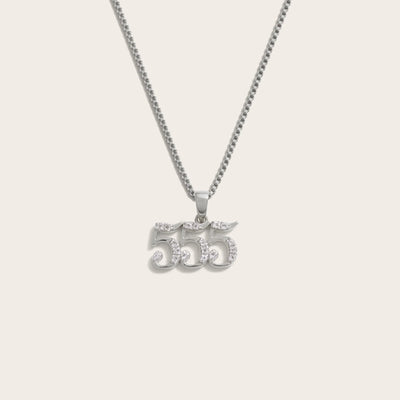
Okay, so I got all my bits and bobs laid out on my table. First up, I decided which angel number I wanted to make first. I went with 444 because I’d been seeing that one a lot. Felt like a good starting point.
The actual assembly was, well, an experience.
- Opening Jump Rings: This sounds easy, right? Wrong. Those little things are fiddly. You gotta twist them open sideways with the pliers, not pull them apart. Took me a few tries to get the hang of it without sending a jump ring flying across the room or mangling it.
- Attaching Charms: Once I could open a jump ring without a major incident, I started linking the number charms together. So, for ‘444’, I put a ‘4’ on a jump ring, then another ‘4’ on another, and then the third ‘4’. Then I had to link those jump rings together. I wanted the numbers to hang nicely in a row.
- Connecting to the Chain: After I had my little string of numbers, the next step was attaching it to the chain. I picked a spot in the middle of the chain and used a slightly larger jump ring to connect my number sequence. I wanted it to sit right.
Honestly, the first one took me way longer than I expected. My fingers were sore, and I had a new respect for people who make jewelry for a living. Those jump rings, man. But, I got it done. And then I made another one, 111, for new beginnings, or so they say. And then a 222 for a friend.
The Finished Pieces and What I Reckon
So, after a bit of fumbling and a few choice words aimed at inanimate metal objects, I had a small collection of angel numbers necklaces. They weren’t perfect, you know? Definitely handmade. But I kinda liked that. Each one was a little bit different.
I wore my 444 one for a few days. Felt nice, actually. Like a little personal reminder. And my friend loved her 222 necklace. It’s pretty cool to wear something you’ve made yourself, especially when it has a bit of meaning behind it, even if it’s just a fun little “angel number” thing.
It wasn’t some groundbreaking project, but it was a satisfying afternoon of making. If you’re into that sort of thing, and you’ve got a bit of patience for tiny metal parts, give it a go. You get something unique out of it, and that’s pretty neat.