Okay, here we go! Let me tell you about my angel numbers jewelry-making adventure.
So, I was scrolling through Insta one day, right? And I kept seeing these super cute necklaces with numbers on them. Turns out, they were angel numbers! I’m not usually super into that stuff, but the jewelry looked really cool, and the idea of having a little reminder of positivity with me all the time? I was sold. Plus, I’m always looking for new crafts to try.
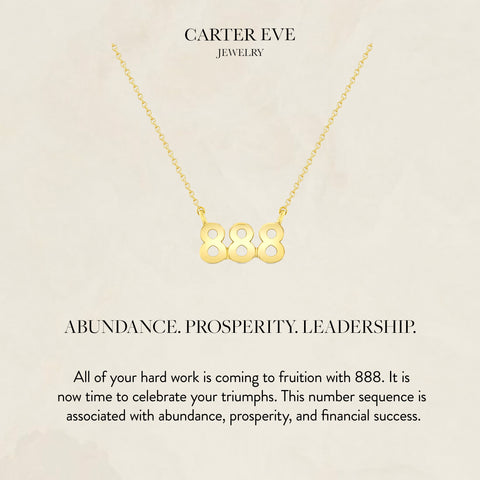
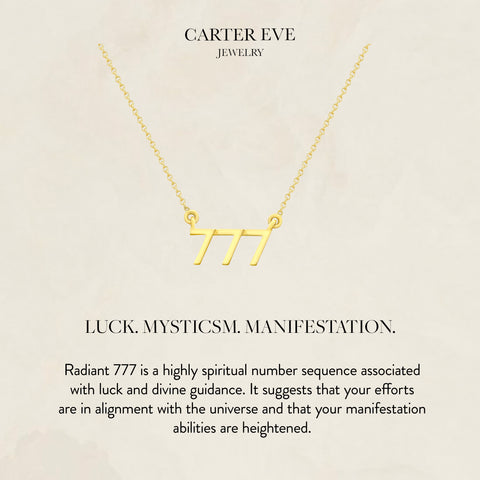
First thing I did was hit up good ol’ Google. I needed to figure out what angel numbers even were. After a quick search, I landed on a site explaining the meanings behind popular angel numbers like 111, 222, 333, etc. I decided I wanted to make a necklace with 777, which supposedly means you’re on the right path and good things are coming. I mean, who doesn’t want that kind of vibe, right?
Next up: shopping! I went to my local craft store – you know, the one with the never-ending aisles of beads and string and all that jazz. Here’s what I grabbed:
- Some gold-colored wire (I wanted a delicate look).
- Small gold-colored number charms – luckily, they had a bunch of 7s!
- A delicate gold chain for the necklace.
- Jewelry pliers (the ones with the rounded tips for bending wire).
- Wire cutters.
Okay, time to get crafty!
I started by cutting a piece of wire about 6 inches long. I figured it was better to have too much than not enough.
Then, using the jewelry pliers, I made a small loop at one end of the wire. This was a little tricky – it took a few tries to get it looking decent. I wanted it to be big enough to thread the chain through, but not so big that it looked clunky.
Next, I started threading the number 7 charms onto the wire. I made sure they were facing the right way, obviously. After I got all three 7s on there, I bent the wire to kind of curve around the numbers, making sure they sat nicely together.
Now for the other loop! This was the trickiest part for me. I had to bend the wire back around to form another loop on the other side of the numbers, making sure the loop was the same size and shape as the first one. It took a few adjustments with the pliers to get it right, but eventually, I managed to get it looking pretty symmetrical.
Once both loops were done, I used the wire cutters to trim off any excess wire. I made sure to file down the sharp edges with a small file I had lying around, because I didn’t want to scratch myself. Safety first!
Finally, the moment of truth! I carefully threaded the gold chain through the two loops on the wire. And… ta-da! I had my very own angel number necklace!
I’m actually really happy with how it turned out. It’s not perfect, but it’s handmade, and it has a special meaning to me. I’ve been wearing it almost every day since I made it. I even got a few compliments on it, which is always a nice ego boost!
A Few Tips I Learned Along the Way:
- Practice your loops! Seriously, making consistent loops with the jewelry pliers takes practice. Don’t get discouraged if your first few attempts look wonky.
- Don’t be afraid to experiment. I tried a few different wire gauges and charm sizes before I found the combination I liked best.
- Protect your fingers! The wire can be a little tough on your hands, so consider wearing gloves or using a small cloth to grip the pliers.
- Have fun! Jewelry making should be relaxing and enjoyable. If you’re getting frustrated, take a break and come back to it later.
So yeah, that’s my angel numbers jewelry-making story. It was a fun little project, and I’m already thinking about what kind of jewelry I want to make next. Maybe earrings? A bracelet? The possibilities are endless!