So, my tarot cards, they were just kinda sitting on my shelf, you know? Exposed. And I felt they deserved a bit more, a proper little home. I looked around online, saw some nice boxes, but nothing really grabbed me. Or they were super expensive for what they were. I figured, heck, I can probably make something myself, or at least customize something.
Getting the Idea Rolling
I wasn’t about to go full carpenter mode, building one from scratch. Nah, that’s a whole other level of commitment. My plan was simpler: find a decent, plain wooden box and then work some magic on it. I wanted something that felt a bit personal, something that wasn’t just another factory-made thing. The key was simplicity and a personal touch.
The Hunt for a Box and Bits
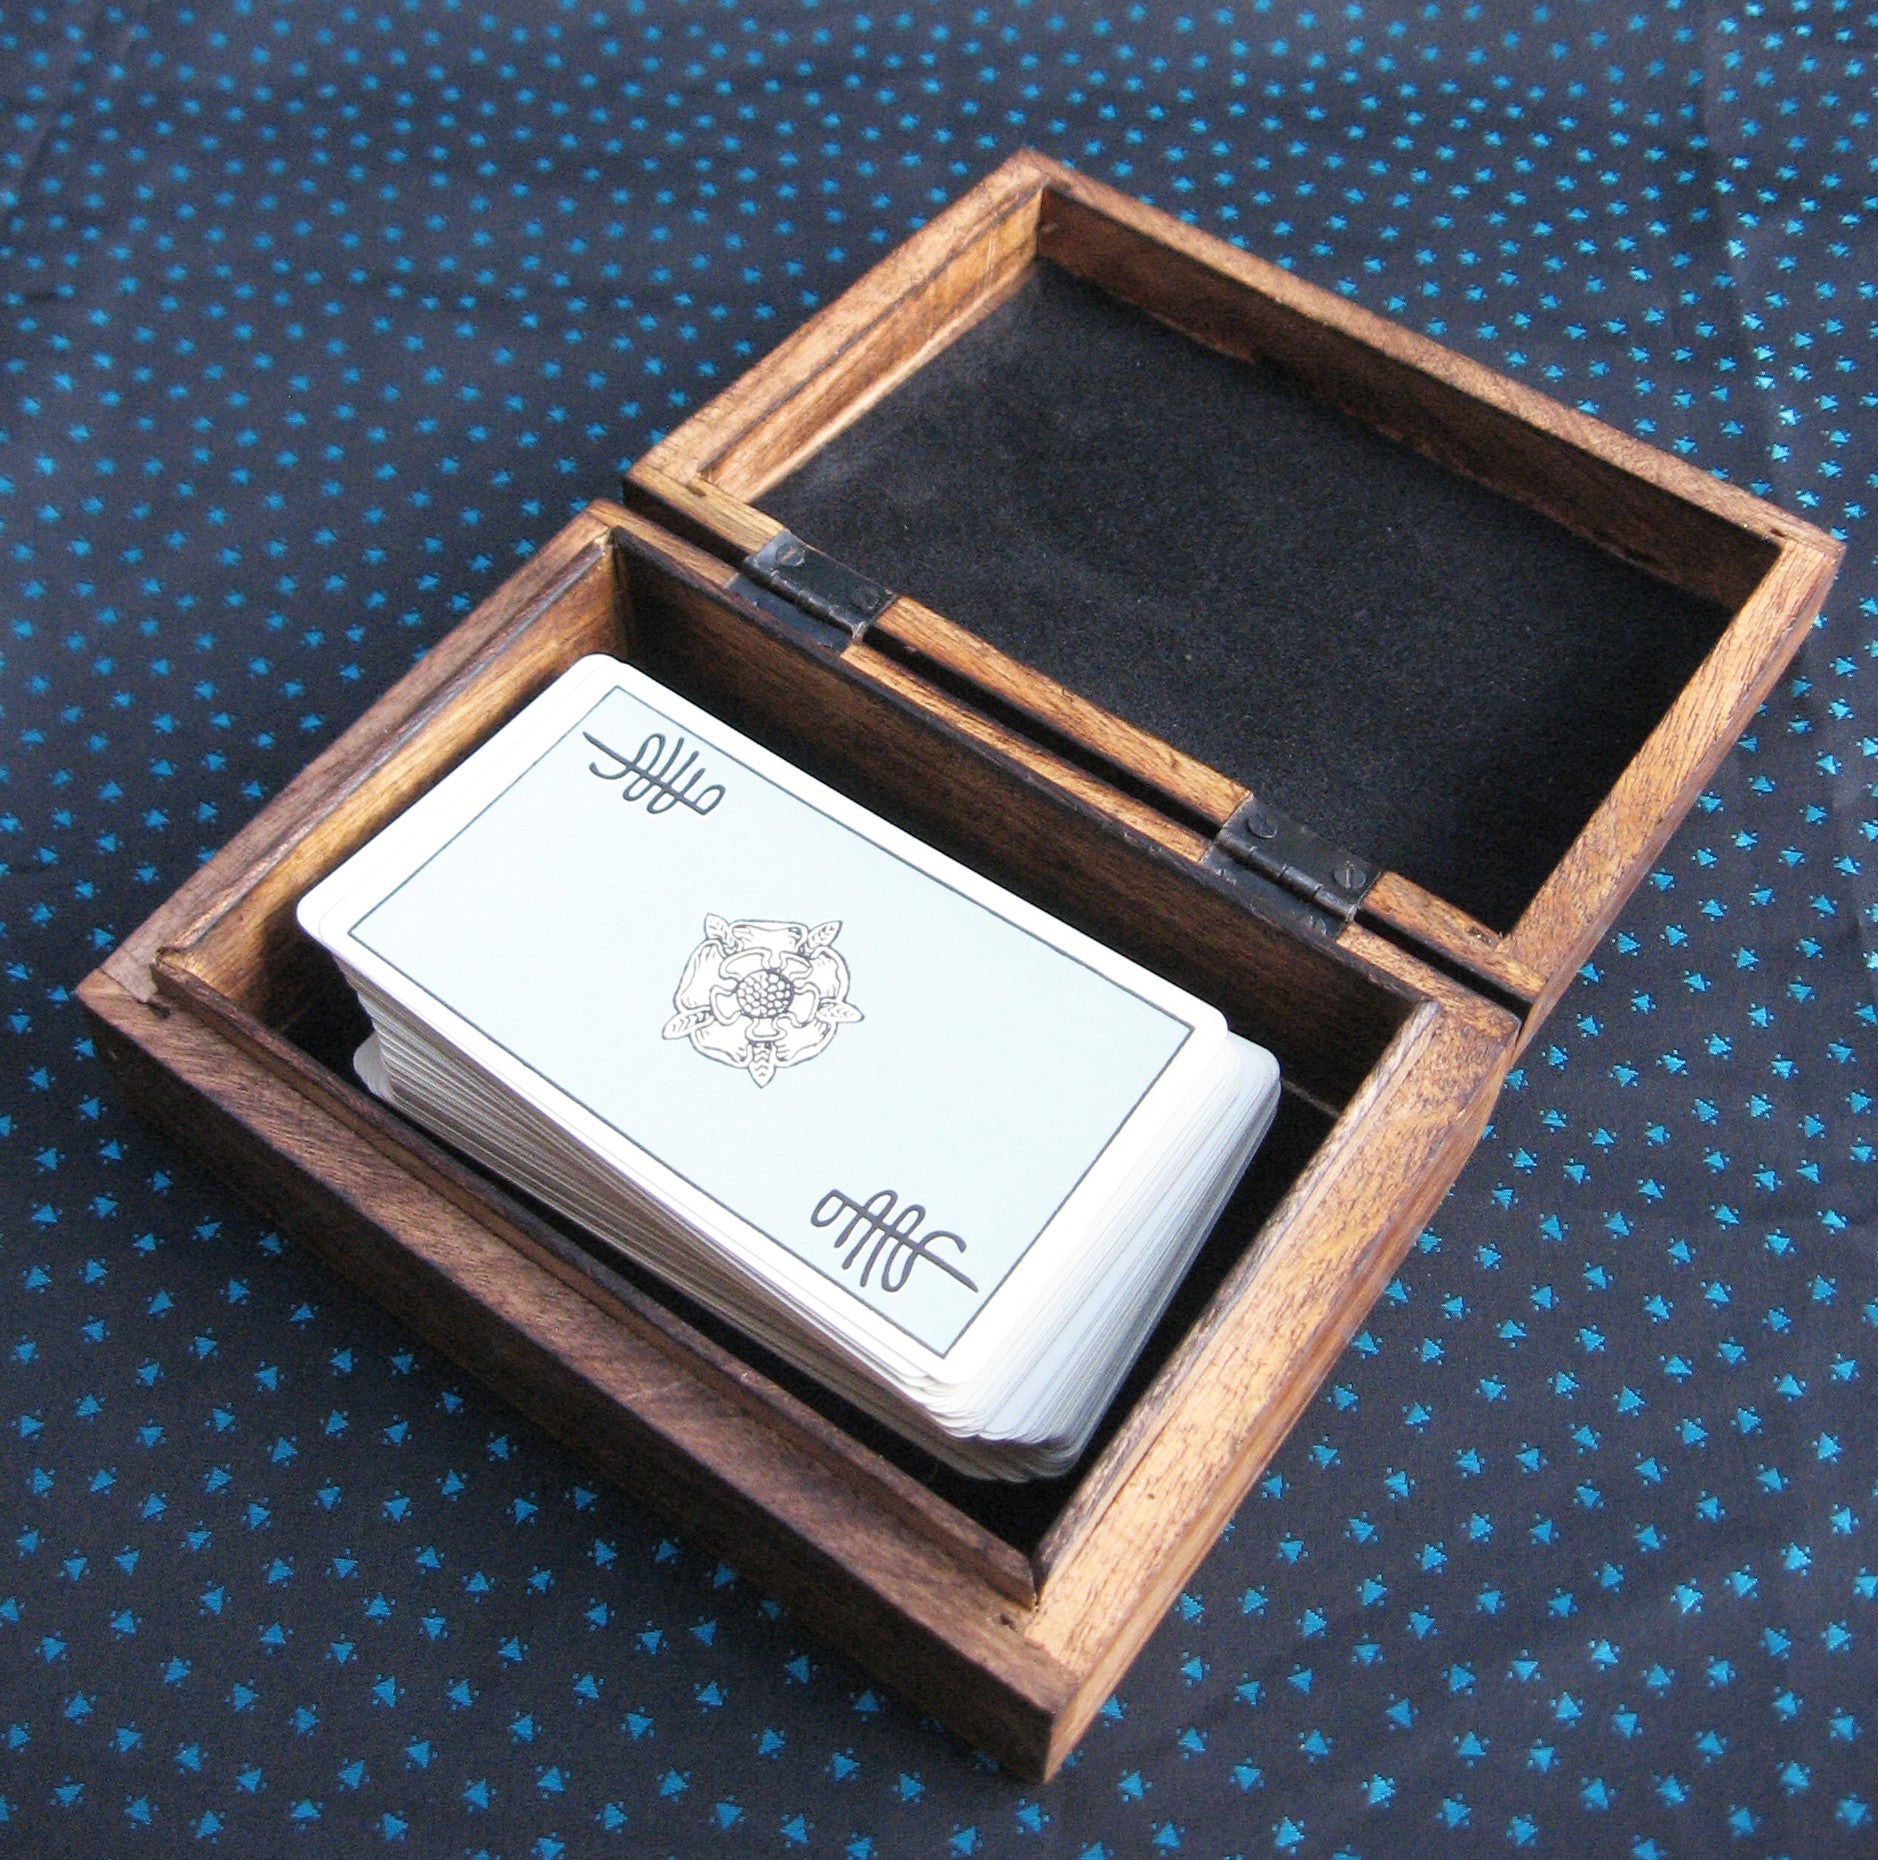
Off I went to the craft store. You know how those places are, you go in for one thing and come out with five. Anyway, I found a pretty basic wooden box, the kind with a simple clasp. It wasn’t anything special to look at, which was perfect. Grabbed it. Then I thought about what else I needed. I had some sandpaper at home already. Paint was a must. I remembered I had this really nice, deep blue acrylic paint left over from another small project. Perfect color for a bit of mystery, I thought. And for the inside? I wanted something soft, so the cards wouldn’t get scuffed. I dug around my fabric scraps and found a piece of dark purple velvet – just enough, thankfully. A bit of all-purpose glue, and I reckoned I was all set.
Getting Down to Business: The Making Of
First things first, I gave that wooden box a good sanding. It wasn’t super rough, but I wanted the paint to go on smooth. Dust everywhere, of course. Always happens. Then I wiped it all down, made sure it was clean.
Next up, painting. I laid out some old newspaper. Popped open that blue paint. It was just as lovely as I remembered. I started applying the first coat. Wood just drinks up paint, doesn’t it? So, I knew it would need at least two. The waiting between coats is always the bit that tests my patience. I just want to get on with it! But, you gotta let it dry properly. So, I did. Second coat went on much better, looked real nice and even.
While the paint was drying for the final time, I tackled the lining. That purple velvet. Measuring and cutting fabric, especially something like velvet that can shift around, is always a bit fiddly. I measured the inside of the box – bottom, and the four sides. Then I carefully cut the pieces. My cutting wasn’t perfectly straight, but hey, it’s handmade, right? That’s part of the charm. I hoped.
Gluing the velvet in was the next challenge. Didn’t want lumps or too much glue seeping through. I put a thin layer of glue on the wood, then carefully pressed the velvet pieces into place, smoothing them out. The corners were a bit tricky, getting them neat. Took a bit of tucking and pressing, but I got there in the end. It actually looked pretty good, that dark blue outside and the rich purple inside.
The Final Product
Once everything was dry, I put the clasp back on. I thought about adding some kind of symbol on the lid, maybe painting a moon or something. But then I decided against it. I liked the simplicity of the deep blue. It felt understated and personal enough as it was.
And there it was. My tarot card box. It’s not a masterpiece of woodworking, that’s for sure. There are little imperfections if you look really close. But it’s mine. I made it. My cards fit in perfectly, nestled on that soft velvet. Every time I open it now, I get this little sense of satisfaction. It just feels right, much better than them just lying about or being in some generic container. It was a pretty simple project, really, but totally worth the little bit of effort.