Alright folks, gather ’round! Today, I’m spilling the beans on my “Fool” tarot card crafting adventure. Buckle up, it’s gonna be a ride!

It all started with a sudden urge, you know? I was staring at my blank sketchbook, feeling kinda blah, and then BAM! The image of the Fool popped into my head. That carefree spirit, that leap of faith… I needed that energy in my life, and I figured making a tarot card version would be a fun way to channel it.
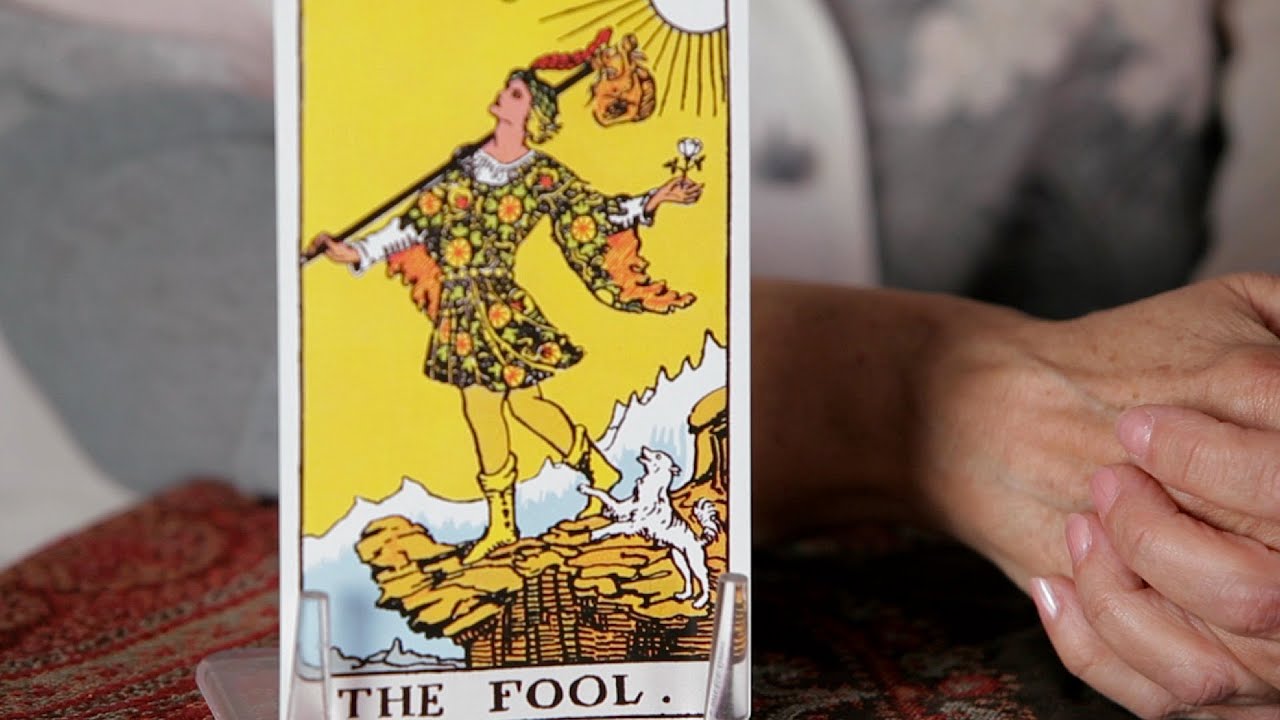
First thing’s first: research! I dove headfirst into Google Images, tarot decks I already owned, and even some blog posts about the Fool card’s symbolism. I wanted to get a good feel for the traditional imagery, but also figure out how I could put my own spin on it. I scribbled down notes about the dog, the cliff, the bundle on the stick – all that good stuff.
Next, the fun part: sketching! I grabbed my favorite mechanical pencil (the 0.7mm one, if you must know) and started doodling. My initial sketches were rough, like REALLY rough. Stick figures, weird proportions, the whole shebang. But I kept at it, refining the composition and trying different poses for the Fool. I wanted to capture that sense of movement, that feeling of stepping into the unknown.
Once I had a sketch I was reasonably happy with, I moved on to linework. I used a fine-liner pen – a 0.3mm, I think – to outline the key elements of the drawing. This is where things started to get real! I tried to vary the line weight to add some depth and interest, making the outlines thicker in some areas and thinner in others.
Then came the colors! I decided to go with a limited palette of earthy tones – browns, greens, yellows, oranges. I wanted to evoke a sense of nature and adventure. I used watercolor pencils for this step, coloring lightly and then blending the colors with a damp brush. It’s a technique I’ve been playing around with lately, and I really like the soft, dreamy effect it creates.

Layering, layering, layering! That was the name of the game. I kept adding more color, shading different areas, and highlighting others. I wanted to create a sense of depth and dimension in the card. I also experimented with different textures, using a dry brush to create a rough, scratchy effect in some areas, and a damp sponge to create a smoother, more blended effect in others.
After the watercolor, I added some details with colored pencils. This is where I really started to bring the card to life. I added highlights to the Fool’s eyes, wrinkles to his clothes, and texture to the landscape. I also used a white gel pen to add some highlights and create a sense of sparkle.
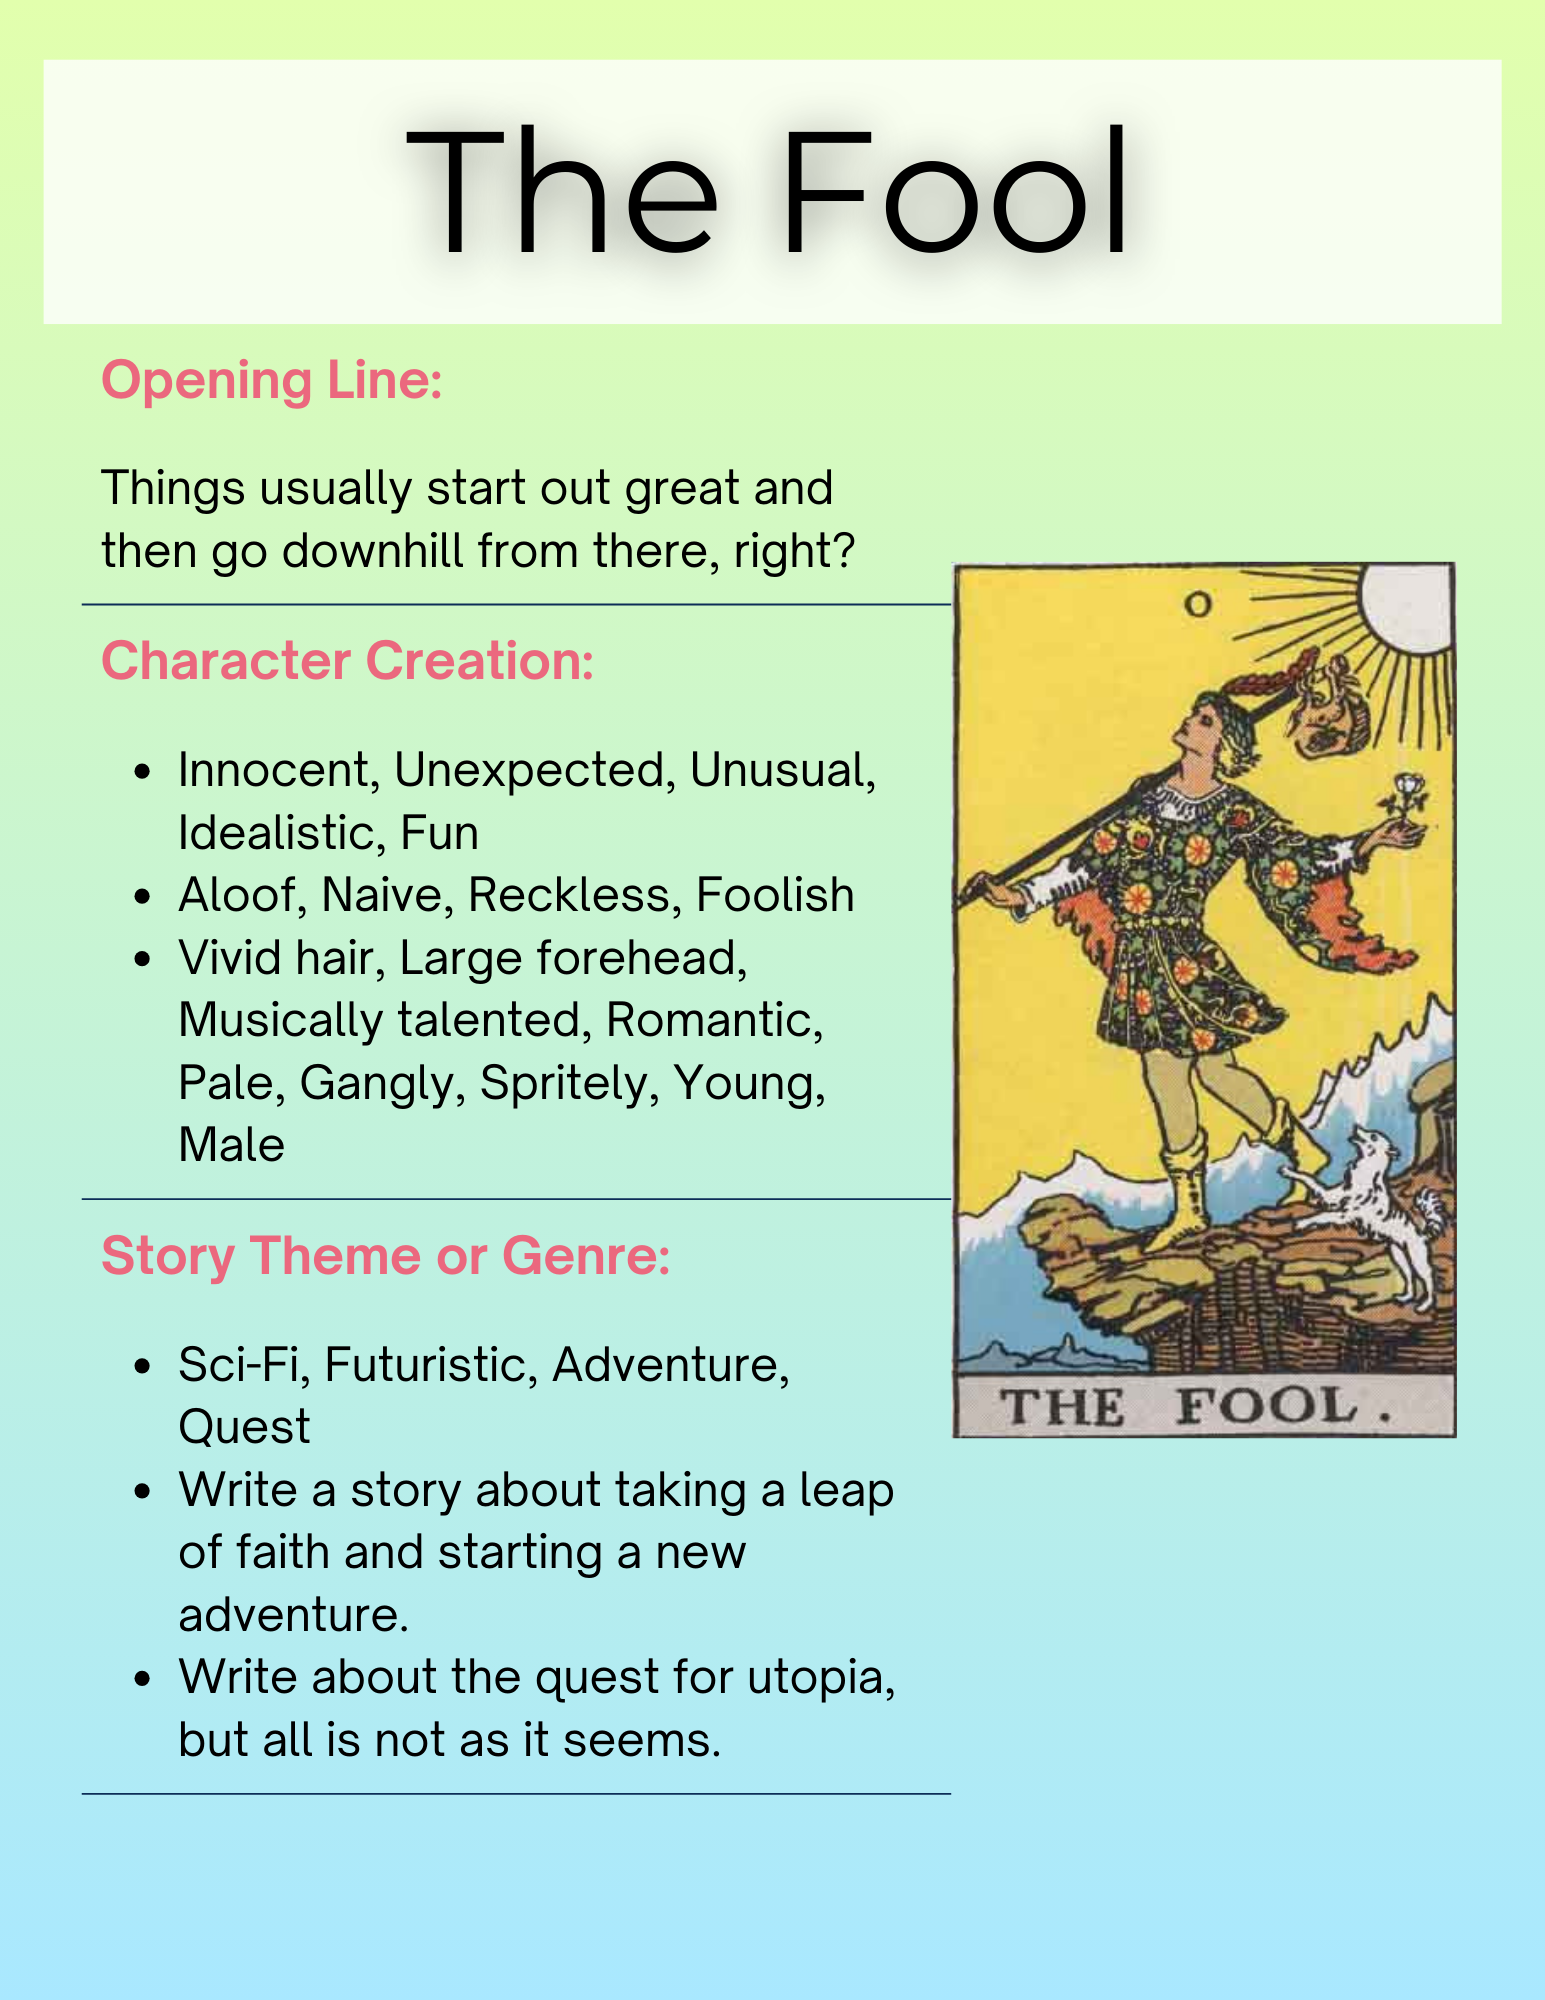
The last step was adding the title and any other text. I wanted to keep it simple and elegant, so I just used a simple serif font and hand-lettered “The Fool” at the bottom of the card. I also added the Roman numeral “0” at the top. And then… TA-DA! My “Fool” tarot card was complete!
Now, I’m no professional artist, mind you. There are definitely things I would do differently if I were to make another one. But overall, I’m pretty happy with how it turned out. It was a fun and challenging project, and it helped me connect with the energy of the Fool card in a new and meaningful way. Plus, I got to unleash my inner artist, which is always a good thing. So, yeah, that’s the story of my “Fool” tarot card. Hope you enjoyed it!
